How To – 2013 Jeep Grand Cherokee R&I Door and Window Removal
These Grand Cherokee doors have severe hail damage.
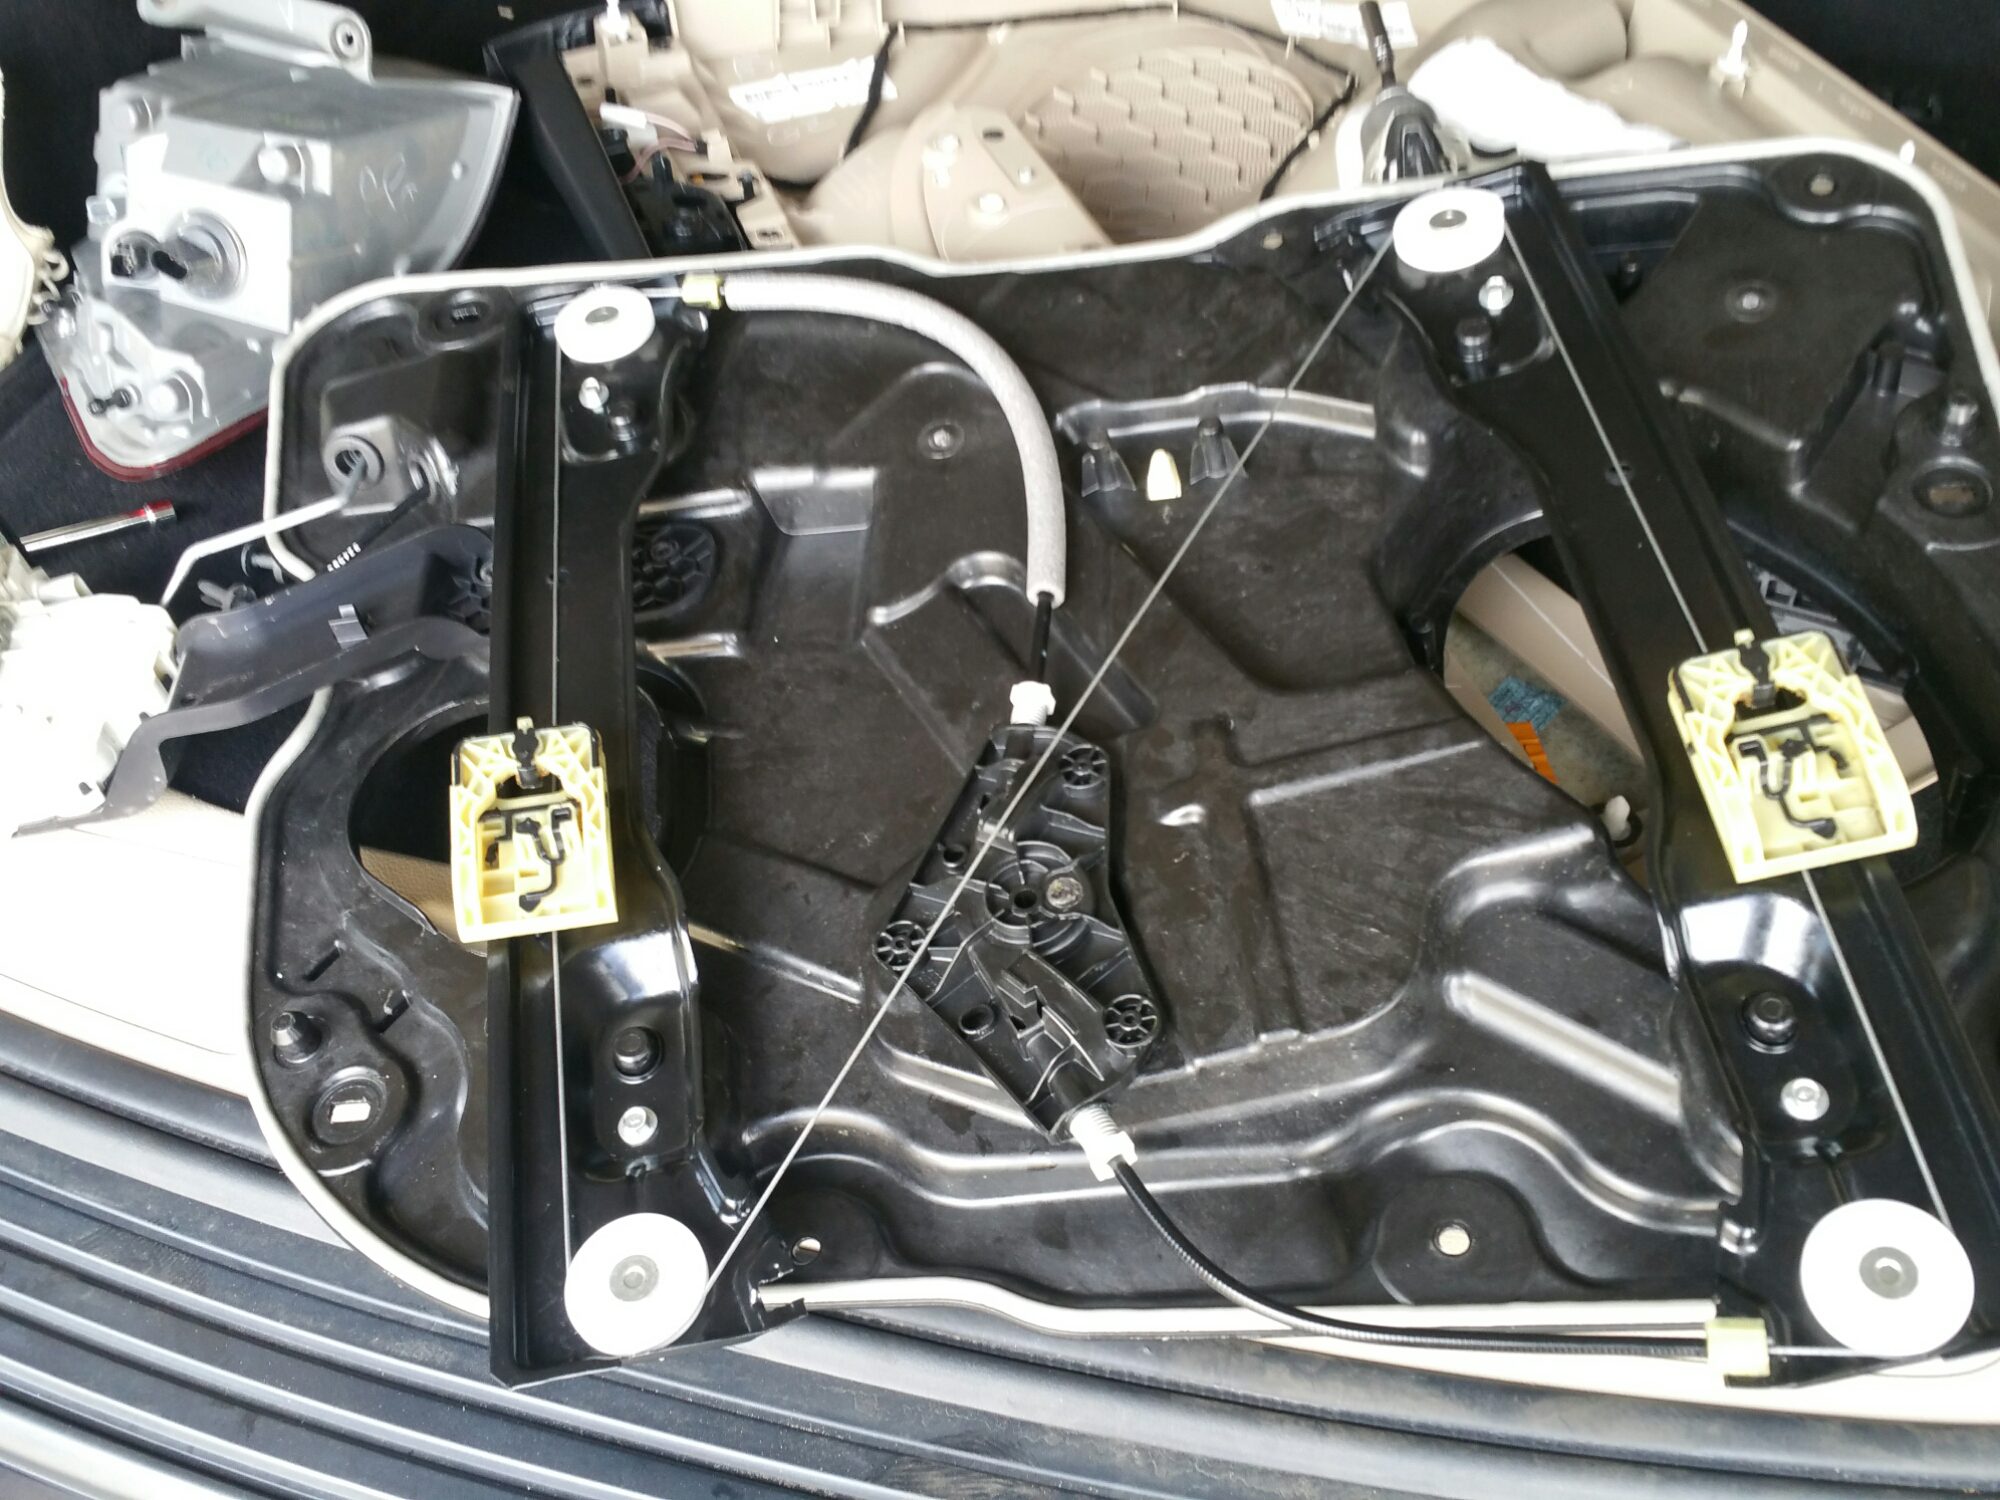
The proper repair would call for removing the door so the paintless dent repair technician can gain proper access to each individual dent. Unfortunately most out there will leave the door on getting a lesser quality result.
We do not cut corners by drilling holes as Gutting the doors provides proper access to the hail dents.
Here's a how to in case you need to learn how to do it:

Putting the door on the stand provides an easy way to maneuver 360 degrees around the dents.
Each door takes about two hours to remove and about two and a half to reinstall.


In the end it should have been a lot easier than it was. What a pain!
Complete Guide: Door and Window Removal & Installation for 2013 Jeep Grand Cherokee
If you're looking to replace or repair the doors or windows on your 2013 Jeep Grand Cherokee, this comprehensive guide will walk you through the removal and installation (R&I) process. While this job requires attention to detail, it's achievable for DIY mechanics with the right tools and patience.
Required Tools and Materials
Before beginning this project, gather these essential tools:
- 10mm and 13mm sockets with ratchet
- Torx bit set (T20, T25, T30 most commonly needed)
- Plastic trim removal tools
- Wire connector removal tool
- Clean workspace with adequate lighting
- Helper (recommended for door removal)
- Safety equipment (work gloves, safety glasses)
- Magnetic parts tray
- Door support or jack stand (optional but recommended)
Safety Precautions
Before starting any work:
- Disconnect the vehicle's battery to prevent electrical shorts
- Clear your workspace of any obstacles
- Put on appropriate safety gear
- Have a helper available for managing heavy components
- Document the location and orientation of all parts as you remove them
Door Removal Process
Step 1: Interior Preparation
Start by removing the interior door panel:
- Remove the door handle trim piece using your plastic trim tool
- Unscrew the handle mounting screws (typically T20 Torx)
- Remove the power window switch panel by carefully prying from the rear edge
- Disconnect all electrical connectors from the switch panel
- Remove the door panel mounting screws (usually hidden behind plastic covers)
- Starting from the bottom, carefully pull the door panel away from the door frame
- Lift the panel up and off the window seal at the top
Step 2: Wiring Disconnection
With the door panel removed:
- Locate the main wiring harness grommet where it passes through the door frame
- Carefully pull back the rubber boot protecting the wires
- Label and photograph all electrical connections before disconnecting
- Use your wire connector removal tool to separate all connections
- Gently pull the wiring harness through the door frame
Step 3: Door Removal
Now for the actual door removal:
- Support the door's weight with a jack stand or helper
- Remove the door check strap bolt (13mm socket typically required)
- Remove the hinge bolts one at a time while maintaining door support
- Have your helper steady the door while removing the final bolts
- Carefully lift the door away from the vehicle
Window Removal Process
Step 1: Access Preparation
Before removing the window:
- Ensure the door panel and all interior components are removed
- Lower the window halfway to access mounting bolts
- Remove the vapor barrier if still in place
Step 2: Window Removal
- Locate the window mounting bolts (usually two 10mm bolts at the bottom of the glass)
- Support the glass with one hand while removing the mounting bolts
- Carefully disconnect the window from the regulator
- Slowly lift the glass straight up and out of the door frame
- Place the glass in a safe location on a padded surface
Installation Process
Window Installation
- Clean the window channels and apply fresh lubricant
- Carefully lower the new window into the door frame
- Align the mounting holes with the regulator
- Install mounting bolts but don't fully tighten until proper alignment is verified
- Test the window operation manually before connecting power
Door Installation
- With your helper, carefully align the door with the hinges
- Insert but don't fully tighten the hinge bolts
- Reconnect the door check strap
- Adjust the door alignment for proper fit
- Tighten all hinge bolts to factory specifications
- Reconnect all electrical components
- Test all functions before reinstalling the door panel
Final Assembly
- Reinstall the vapor barrier with fresh sealant if necessary
- Reconnect all electrical components and test functionality
- Carefully reattach the door panel, ensuring all clips align properly
- Reinstall all screws and trim pieces
- Test all door functions: locks, windows, mirrors, and handles
Quality Checks
Before considering the job complete:
- Check door alignment with adjacent panels
- Verify proper weatherstrip sealing
- Test window operation through full range of motion
- Confirm all electrical components function correctly
- Listen for any unusual noises during window operation
- Check for proper door closing effort and sound
- Verify all trim pieces are secure with no rattles
Troubleshooting Common Issues
If you encounter these common problems:
Window Binding
- Check track alignment
- Verify proper lubrication
- Ensure mounting bolts are properly tightened
- Check for debris in window channels
Door Misalignment
- Loosen hinge bolts and adjust door position
- Check for worn hinge pins
- Verify body mounting points are secure
- Ensure striker pin alignment is correct
Electrical Issues
- Verify all connectors are fully seated
- Check for pinched wires
- Confirm proper ground connections
- Test power supply at components
Maintenance Tips
To keep your newly installed components working properly:
- Lubricate door hinges and window tracks every 6 months
- Clean window channels regularly to prevent debris buildup
- Check and tighten any loose fasteners during regular maintenance
- Inspect weatherstripping for damage or wear
- Keep drain holes clear to prevent water accumulation
Remember that proper alignment and careful reassembly are crucial for long-term reliability. Take your time with each step, and don't force any components that aren't aligning properly. If you encounter significant resistance or unusual problems, consult a professional mechanic.

