# Replacing the Headliner in a 2011 Lexus RX350: A Complete Guide
The headliner in your Lexus RX350 plays a crucial role in both aesthetics and comfort, but over time, it may begin to sag or show wear. Today, we’ll walk through the complete process of removing and replacing the headliner in your 2011 Lexus RX350. This guide assumes you have basic automotive repair experience and access to standard tools.
## Time and Difficulty
Expected completion time: 4-6 hours
Skill level: Intermediate to Advanced
Number of helpers needed: 2 recommended
## Required Tools and Materials
– New headliner material
– Spray adhesive designed for automotive use
– Phillips and flathead screwdrivers
– Trim removal tools
– Socket set with extensions
– Wire connectors
– Clean work gloves
– Safety glasses
– Razor blade or utility knife
– Clean workspace or garage
## Preparation Steps
Before beginning the removal process, thoroughly clean the interior of your RX350. Remove any items from the cabin and cover the seats and carpeting with protective materials. This step is crucial as you’ll be working overhead and don’t want debris falling onto your interior surfaces.
## Removal Process
### 1. Interior Component Removal
Start by removing these components in order:
– Sun visors and their mounting brackets
– Overhead console and any reading lights
– Grab handles
– A-pillar trim pieces
– Disconnect the dome light wiring
– Remove any speaker grilles in the roof area
– Carefully detach the rear-view mirror
Take photos of the wiring connections before disconnecting them to ensure proper reassembly later.
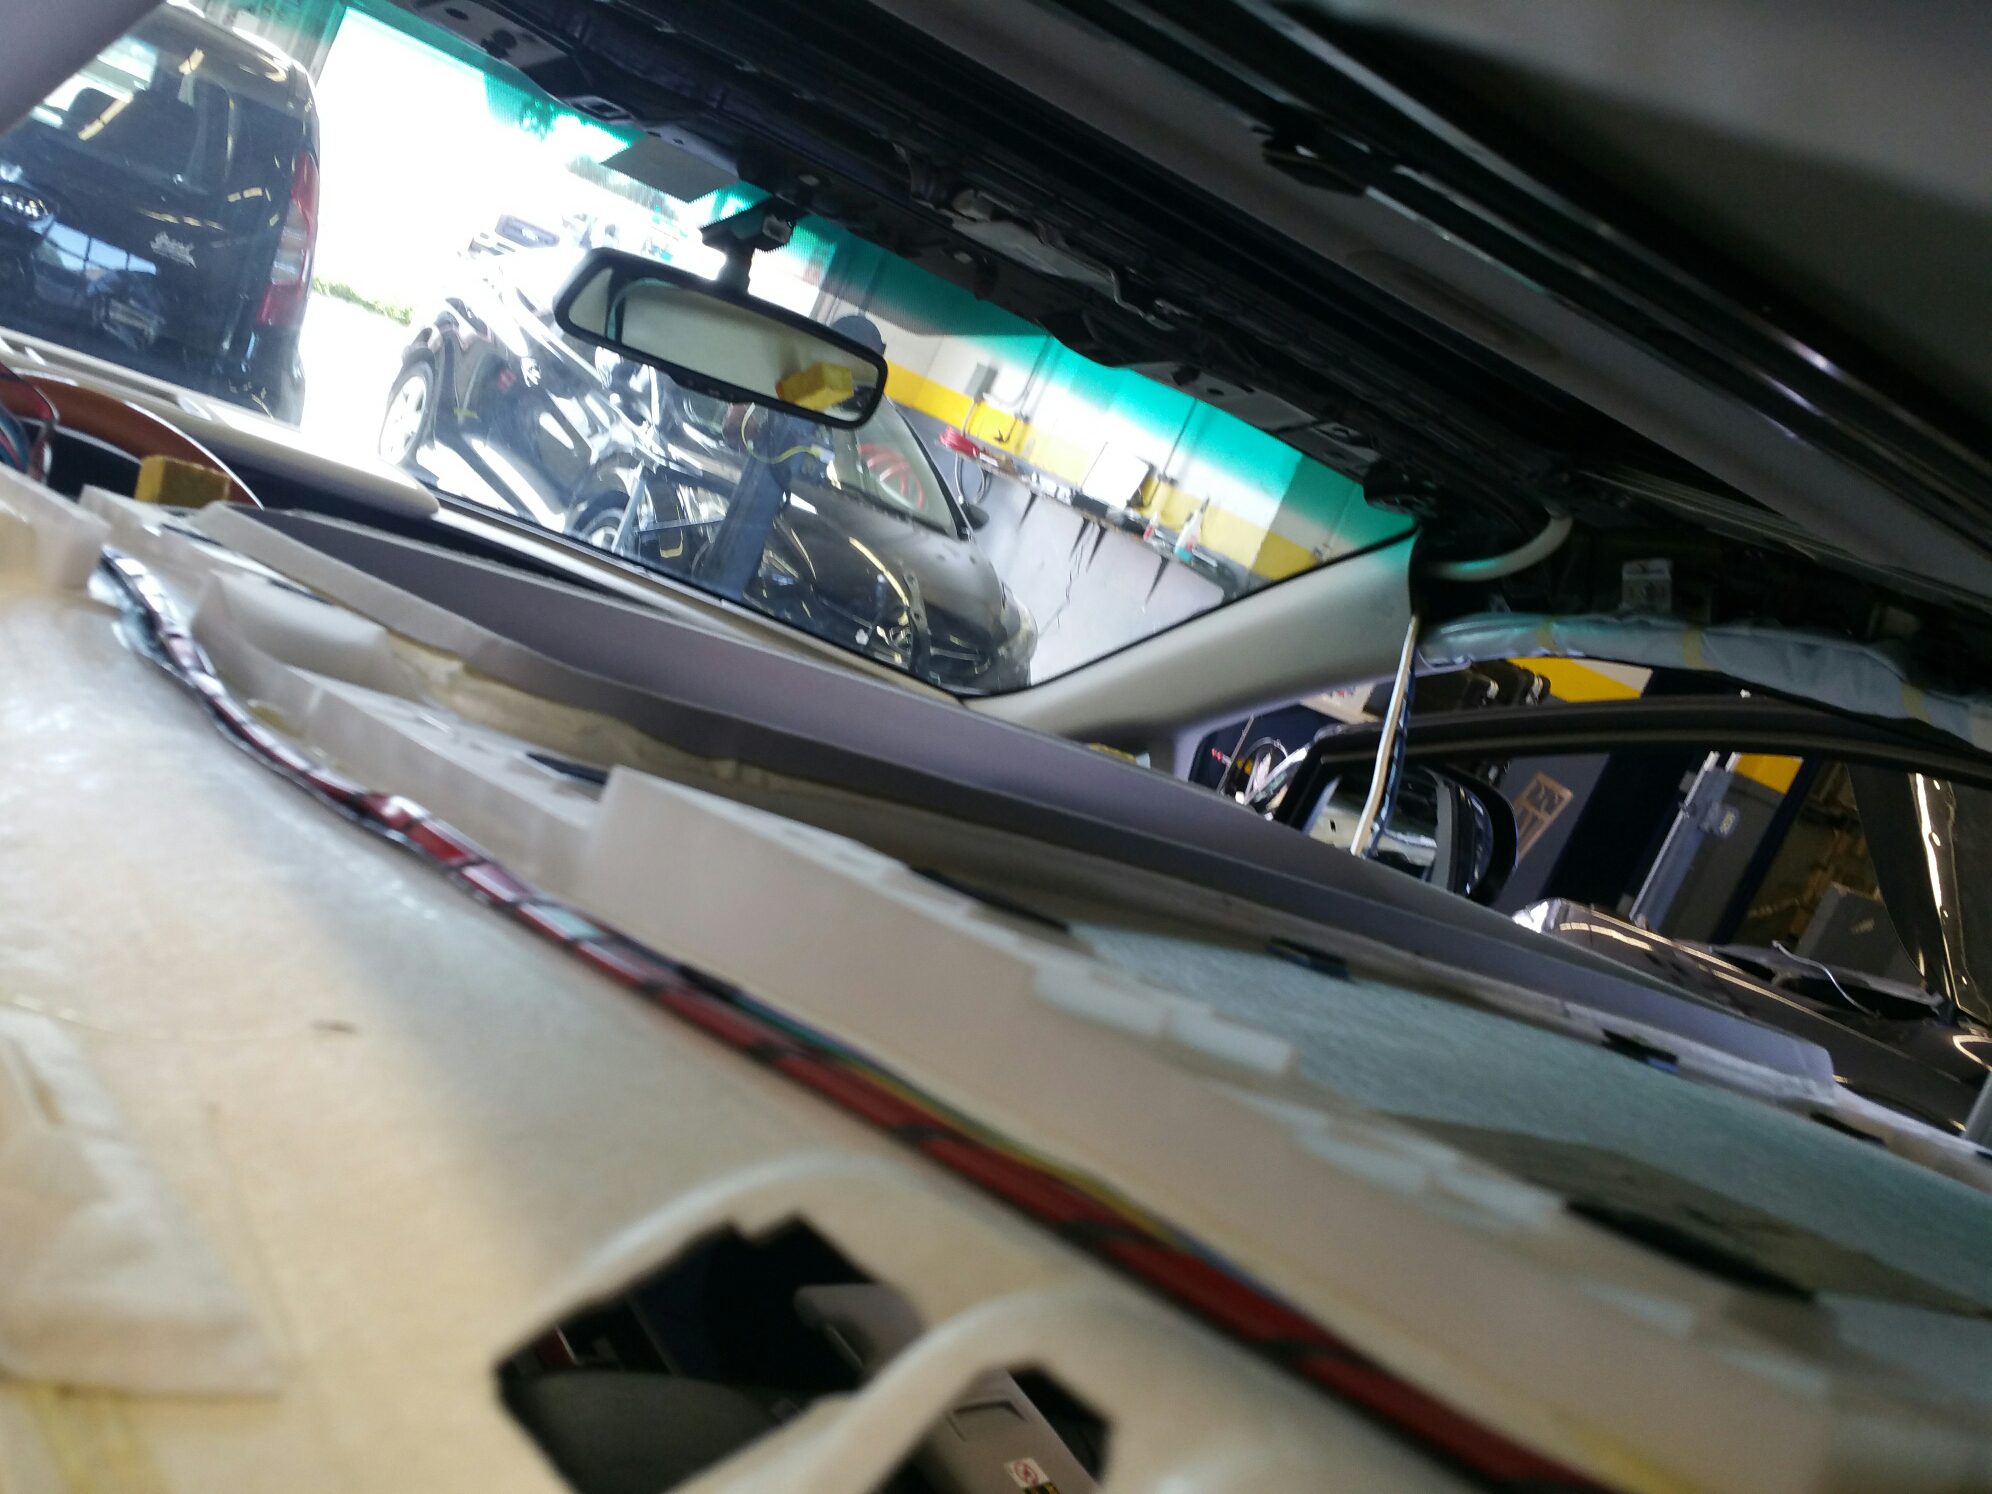
### 2. Headliner Removal
The headliner board in the RX350 is relatively large, so having a helper is essential for this step. You’ll need to:
1. Lower the headliner at the rear first
2. Carefully maneuver it past the B-pillars
3. Angle it diagonally to clear the windshield area
4. Remove it through the rear door opening
Be extremely careful during this process as the headliner board is fragile and can crack if bent too much.
## Replacement Process
### 1. Preparing the New Material
– Lay out the new headliner material on a clean, flat surface
– Allow it to reach room temperature if it’s been stored in a cold area
– Inspect for any defects or damage
### 2. Removing Old Material
– Place the headliner board on a large, clean work surface
– Carefully remove the old material and adhesive
– Use a wire brush or sandpaper to remove any remaining adhesive
– Clean the board thoroughly with adhesive remover
– Allow the board to dry completely
### 3. Applying New Material
– Apply the adhesive spray in thin, even coats
– Work in sections of about 2 feet at a time
– Carefully lay the new material, starting from the center
– Smooth out any bubbles or wrinkles as you go
– Pay extra attention to corners and curved areas
– Trim excess material with a sharp utility knife
### 4. Reinstallation
Reinstallation is essentially the removal process in reverse:
1. Carefully maneuver the headliner back through the rear door
2. Position it properly in the roof area
3. Reconnect all electrical components
4. Reinstall trim pieces, handles, and visors
5. Double-check all connections and attachments
## Common Challenges and Solutions
When working on the 2011 RX350 headliner, you might encounter these specific challenges:
1. The curved roof design can make material application tricky. Take extra time smoothing around these areas.
2. Electrical connectors for the overhead console can be delicate. Label each connection and handle with care.
3. The sunroof frame (if equipped) requires extra attention when removing and reinstalling the headliner.
## Final Checks
After installation, verify:
– All electrical components function properly
– No visible wrinkles or bubbles in the material
– All trim pieces are secure
– No rattles or loose components
– Sunroof operation (if equipped)
## Tips for Success
Throughout this process, remember these key points:
– Never force any trim pieces during removal
– Keep all hardware organized by location
– Work in a well-lit, clean environment
– Take plenty of reference photos before and during disassembly
– Allow adequate drying time for adhesives
– Have a helper available for the removal and installation phases
This repair, while time-consuming, can significantly improve your RX350’s interior appearance when done correctly. Take your time with each step, and don’t hesitate to consult with a professional if you encounter any difficulties during the process.